This post may contain affiliate links. Read my disclosure policy here.
These Peanut Butter Chocolate Magic Cookie Bars are gooey and delicious! Stellar seven layer bars that will easily become a family favorite!
Seven Layer Magic Cookie Bars
Few desserts that get me as excited as those with both chocolate and peanut butter. If I can find a way to insert both into a recipe, I am a very happy girl. So I’m hoping you will be just as happy with these Peanut Butter Chocolate Magic Bars!
Also called Hello Dolly bars and seven-layer bars, this delicious treat will make you forget any traditional version that you may have tried. The buttery shortbread is topped with coconut, peanut butter, and chocolate chips for a classic flavor combo that your whole family will love.
With standard ingredients that you can pick up at any grocery store, this magic cookie bar recipe doesn’t take a long time to make and is full of your favorite flavors.
These are perfect baked goods for family gatherings, bake sales, the holiday season, or Christmas cookie trays. A good old magic cookie bar recipe never gets boring!
Recipe Notes:
You want to use softened butter for your chocolate peanut butter bars, not melted butter.
Be careful to clean your spoon or spatula between layers or you will have a gooey mess to deal with.
These taste best at room temperature, so allow the bar cookies to cool before cutting and serving them.
How To Make Peanut Butter Chocolate Magic Cookie Bars Recipe
1 cup unsalted butter, softened 1/2 cup light brown sugar 1 teaspoon vanilla extract 2 1/4 cups all-purpose flour 1/4 teaspoon salt 1 can sweetened condensed milk 14 oz 1 1/4 cups coconut flakes 1 cup chocolate chips (semi-sweet, milk, or a combination of both) 1 cup peanut butter chips
Supplies Needed:
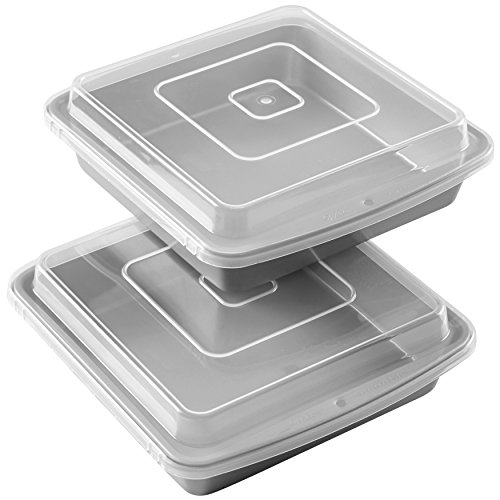
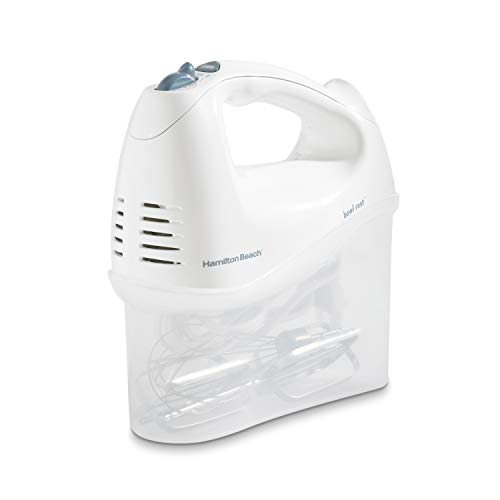
9 x 9 baking dish Electric mixer Large mixing bowl Wooden spoon or rubber spatula
Directions:
Step 1: Preheat the oven to 350 and grease a 9 x 9-inch baking pan. You can line it with parchment paper if that is your preference, but the bottom of the cookie base may be a bit uneven.
Step 2: Take out a stand mixer or a bowl and a hand mixer. Beat the softened butter, brown sugar, and vanilla until they are creamy.
Step 3: Add in the flour and salt and combine.
Step 4: Transfer the cookie dough into the bottom of the prepared pan, using your fingers to press the dough evenly into the bottom.
Step 5: Bake the shortbread crust for 15 minutes, until the crust is just starting to turn golden brown.
Step 6: Pour the sweetened condensed milk on top of the crust.
Step 7: Sprinkle the chewy coconut flakes evenly over the top of the milk and then add the chocolate and peanut butter chips, being sure to clean your spoon between layers.
Step 8: Bake for another 20-22 minutes.
Step 9: Remove it from the oven and allow it to cool completely before cutting it into small squares for the best results.
Serve the sliced bars with some ice cream or a large glass of milk and enjoy!
How To Store Leftover Peanut Butter Chocolate Magic Cookie Bars
Store leftovers (if you have any!) in an airtight container or freezer bag, or on a plate covered with plastic wrap or aluminum foil in the refrigerator for up to a week.
If you don’t live in a humid climate, you can also leave them on the counter for up to 5 days.
Can I Use Different Chocolate Chips For These Seven Layer Magic Cookie Bars?
Yes! This recipe calls for semisweet chocolate chips and peanut butter chips, but you can change this up to your personal preferences. Some people prefer white chocolate chips or dark chocolate chips to milk or semi-sweet.
If you want to try something other than peanut butter next time, you could use a cup of butterscotch chips or caramel chips. The most important thing is that you stick with two layers of chocolate chips.
Can I Add More Peanut Butter To This Delicious Recipe?
Yes! For those peanut butter lovers out there, I understand always wanting to add more. There are two options for making this work.
First, you could add 1 tablespoon of peanut butter to the cookie dough while you are mixing it and before baking. Be careful not to use natural peanut butter if choosing this option, as it contains more oil than other kinds of peanut butter.
Second, you could spread an even layer of peanut butter over the baked bar cookie. Then add the sweetened condensed milk on top of the peanut butter layer.
Can I Add Anything Else To These Chocolate Peanut Butter Magic Bars?
Yes! It is always easiest to add more simple ingredients to the top of the bars, so stick with that idea if you plan to change up the original version.
A few good options would be chopped peanuts or Reese’s Peanut Butter Cups. Slice up the Reese’s cups into small bite-sized pieces and add them to a small bowl on the side.
When it is time to add the toppings, add half of the peanut butter chips and your new toppings as well or add everything for those peanut butter fans. The toppings will bake into an amazingly indulgent cookie bar that is perfect for any time of year.
Can I Make These Peanut Butter Coconut Bars Gluten-Free?
These 7-layer bars are naturally vegetarian, but they do contain gluten in the way of the all purpose flour.
If you want to make them gluten-free, you can substitute almond flour. You may need an additional binding agent if you make that substitute or it won’t turn out correctly.
These Peanut Butter Chocolate Magic Cookie Bars are gooey and delicious! Stellar seven layer bars that will easily become a family favorite!
Prep Time15 minutes
Cook Time35 minutes
Additional Time30 minutes
Total Time1 hour20 minutes
Ingredients
1 cup unsalted butter, softened
1/2 cup light brown sugar
1 teaspoon vanilla extract
2 1/4 cups all purpose flour
1/4 teaspoon salt
1 can sweetened condensed milk 14 oz
1 1/4 cups coconut
1 cup chocolate chips
1 cup peanut butter chips
Instructions
Preheat the oven to 350 and grease a 9 x 9" square baking pan.
Take out a stand mixer or a bowl and a hand mixer. Beat the butter, brown sugar and vanilla until they are creamy. Add in the flour and salt and combine.
Transfer the dough into the prepared baking pan, using your fingers to press the dough evenly into the bottom.
Bake the shortbread for 15 minutes, until the crust is just starting to turn golden brown.
Pour the sweetened condensed milk over the top of the shortbread.
Sprinkle the coconut evenly over the top of the milk and then add the chocolate and peanut butter chips.
Bake for another 20-22 minutes. Remove it from the oven and allow it to cool completely before cutting.
Notes
Store leftovers (if you have any!) in an airtight container for up to one week.
Recommended Products
As an Amazon Associate and member of other affiliate programs, I earn from qualifying purchases.
This website uses cookies to improve your experience. We'll assume you're ok with this, but you can opt-out if you wish.AcceptRead More
Privacy & Cookies Policy
Privacy Overview
This website uses cookies to improve your experience while you navigate through the website. Out of these, the cookies that are categorized as necessary are stored on your browser as they are essential for the working of basic functionalities of the website. We also use third-party cookies that help us analyze and understand how you use this website. These cookies will be stored in your browser only with your consent. You also have the option to opt-out of these cookies. But opting out of some of these cookies may affect your browsing experience.
Necessary cookies are absolutely essential for the website to function properly. This category only includes cookies that ensures basic functionalities and security features of the website. These cookies do not store any personal information.
Any cookies that may not be particularly necessary for the website to function and is used specifically to collect user personal data via analytics, ads, other embedded contents are termed as non-necessary cookies. It is mandatory to procure user consent prior to running these cookies on your website.


 Step 2: Take out a stand mixer or a bowl and a hand mixer. Beat the softened butter, brown sugar, and vanilla until they are creamy.
 Step 5: Bake the shortbread crust for 15 minutes, until the crust is just starting to turn golden brown.
 Step 8: Bake for another 20-22 minutes.


 Wilton Recipe Right Non-Stick 9-Inch Square Baking Pan with Lid, Set of 2
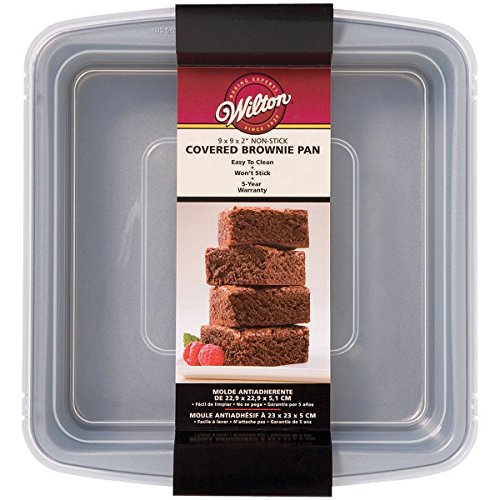


![[12-Pack] Food Storage Containers with Lids - Plastic Food Containers with lids - Plastic Containers with lids - Airtight Leak Proof Easy Snap Lock and BPA Free Plastic Container Set for Kitchen Use](https://dancingthroughtherain.com/wp-content/uploads/2019/03/A1r6LsriEoL._SY450_-200x200.jpg)


")
")


Making these right now and I used a 9 x 13 pan instead of the 9×9 because it seemed like too much crust for a 9×9 pan.